Lenovo ThinkCentre M625q: The Ultimate Budget Linux Learning Environment
A comprehensive guide to repurposing an ultra-small form factor (USFF) PC for Linux education, hardware experimentation, and home labbing.
Why Choose the M625q Tiny?
The Lenovo ThinkCentre M625q Tiny is an ideal hardware platform for students, hobbyists, and system administrators looking to learn Linux. Powered by energy-efficient AMD microprocessors, these units are inexpensive, widely available on the refurbished market, and require very little physical space.
Key Learning Advantages
- Low Power Consumption: Runs silently on minimal wattage, making it perfect for a 24/7 always-on learning server.
- Bare-Metal Experience: Provides true hardware-level troubleshooting experience (BIOS/UEFI configuration, USB booting, and storage formatting) that virtual machines cannot replicate.
- Dual-Display Support: Features multiple DisplayPort outputs to easily view learning materials on one screen while coding on the other.
- Modular Architecture: Simple to open up and upgrade, teaching fundamental concepts of hardware compatibility with the Linux kernel.
Hardware Visual Layout
The M625q features an industrial, highly compact chassis designed for easy maintenance.
Front View
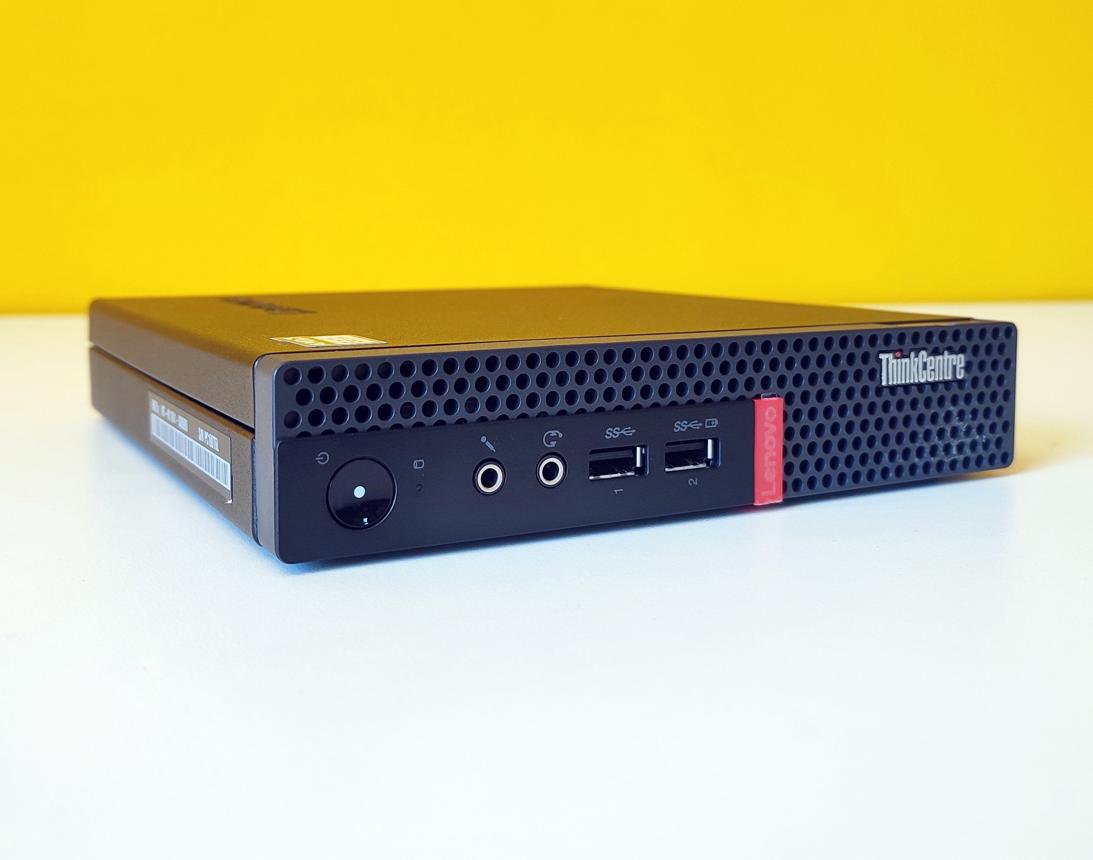
The front panel provides easy access to the power button, status indicator LEDs, high-speed USB 3.1 ports, and dedicated 3.5mm microphone/headphone audio jacks for hardware diagnostic tests.
Rear View & Internal Layout
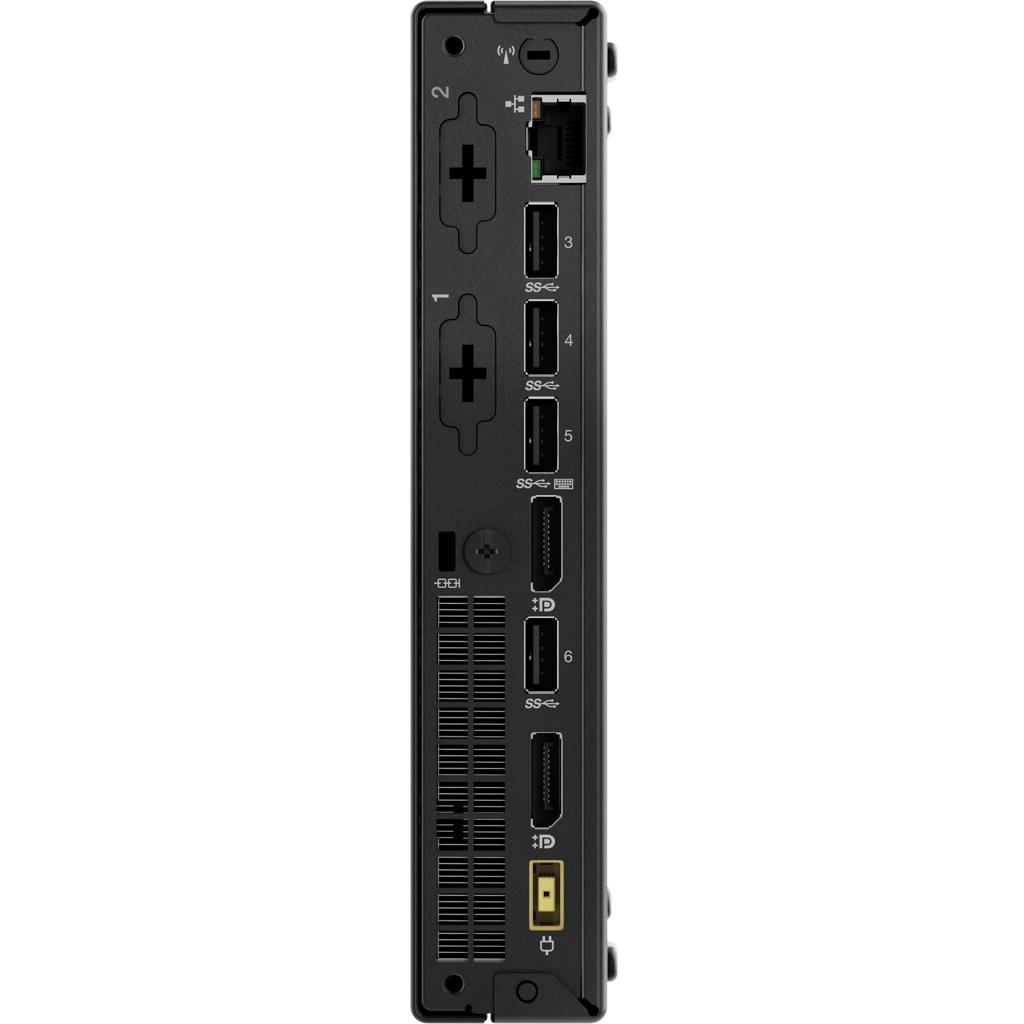
The rear features robust I/O including Gigabit Ethernet, USB ports, and dual DisplayPort connectors. Sliding off the toolless chassis cover reveals a highly accessible motherboard with a single SODIMM DDR4 RAM slot and an M.2 NVMe/SATA SSD slot.
Linux Learning Path Options
Depending on your current skill level, the M625q can be configured to support three distinct educational pathways:
| Skill Level | Recommended Linux Distro | Primary Learning Focus | Environment Type |
|---|---|---|---|
| Beginner | Linux Mint (XFCE) or Lubuntu | Desktop Navigation, Basic Bash Terminal, Package Management | Graphical User Interface (GUI) |
| Intermediate | Debian Stable or Ubuntu Server | SSH access, User Management, Network Configurations, Vim/Nano Editing | Headless Command Line (CLI) |
| Advanced | Alpine Linux or Arch Linux | Docker Containerisation, Custom Kernel Tweaking, Minimalist Deployments | Microservices Lab |
Step-by-Step Lab Setup Guide
- Prepare the Hardware: Connect a keyboard, mouse, monitor, and an Ethernet cable for a reliable network connection.
- Flash the OS: Download your chosen Linux ISO file and use a flashing tool like Rufus or BalenaEtcher to burn it onto an empty USB drive.
- Configure the BIOS: Power on the M625q and repeatedly press F1 to enter the Lenovo BIOS Setup. Disable "Secure Boot" and move your USB Drive to the top of the boot priority list.
- Execute the Installation: Insert the USB, reboot the machine, and follow the on-screen prompts to wipe the existing drive and partition it for Linux.
- Run Post-Install Updates: Open your terminal and run the update commands to ensure your hardware drivers and system software are completely up to date.